iOS Integration
This guide walks you through packaging your React Native app as an XCFramework and integrating it into your native iOS app.
Prerequisites
- React Native app with
@callstack/react-native-brownfieldinstalled - Xcode installed
- An existing iOS app (or create a new one)
1. Create a Framework Target in Xcode
- Open your React Native project's
ios/<project_name>.xcworkspacein Xcode - Add a new target: File → New → Target
- Choose the Framework template
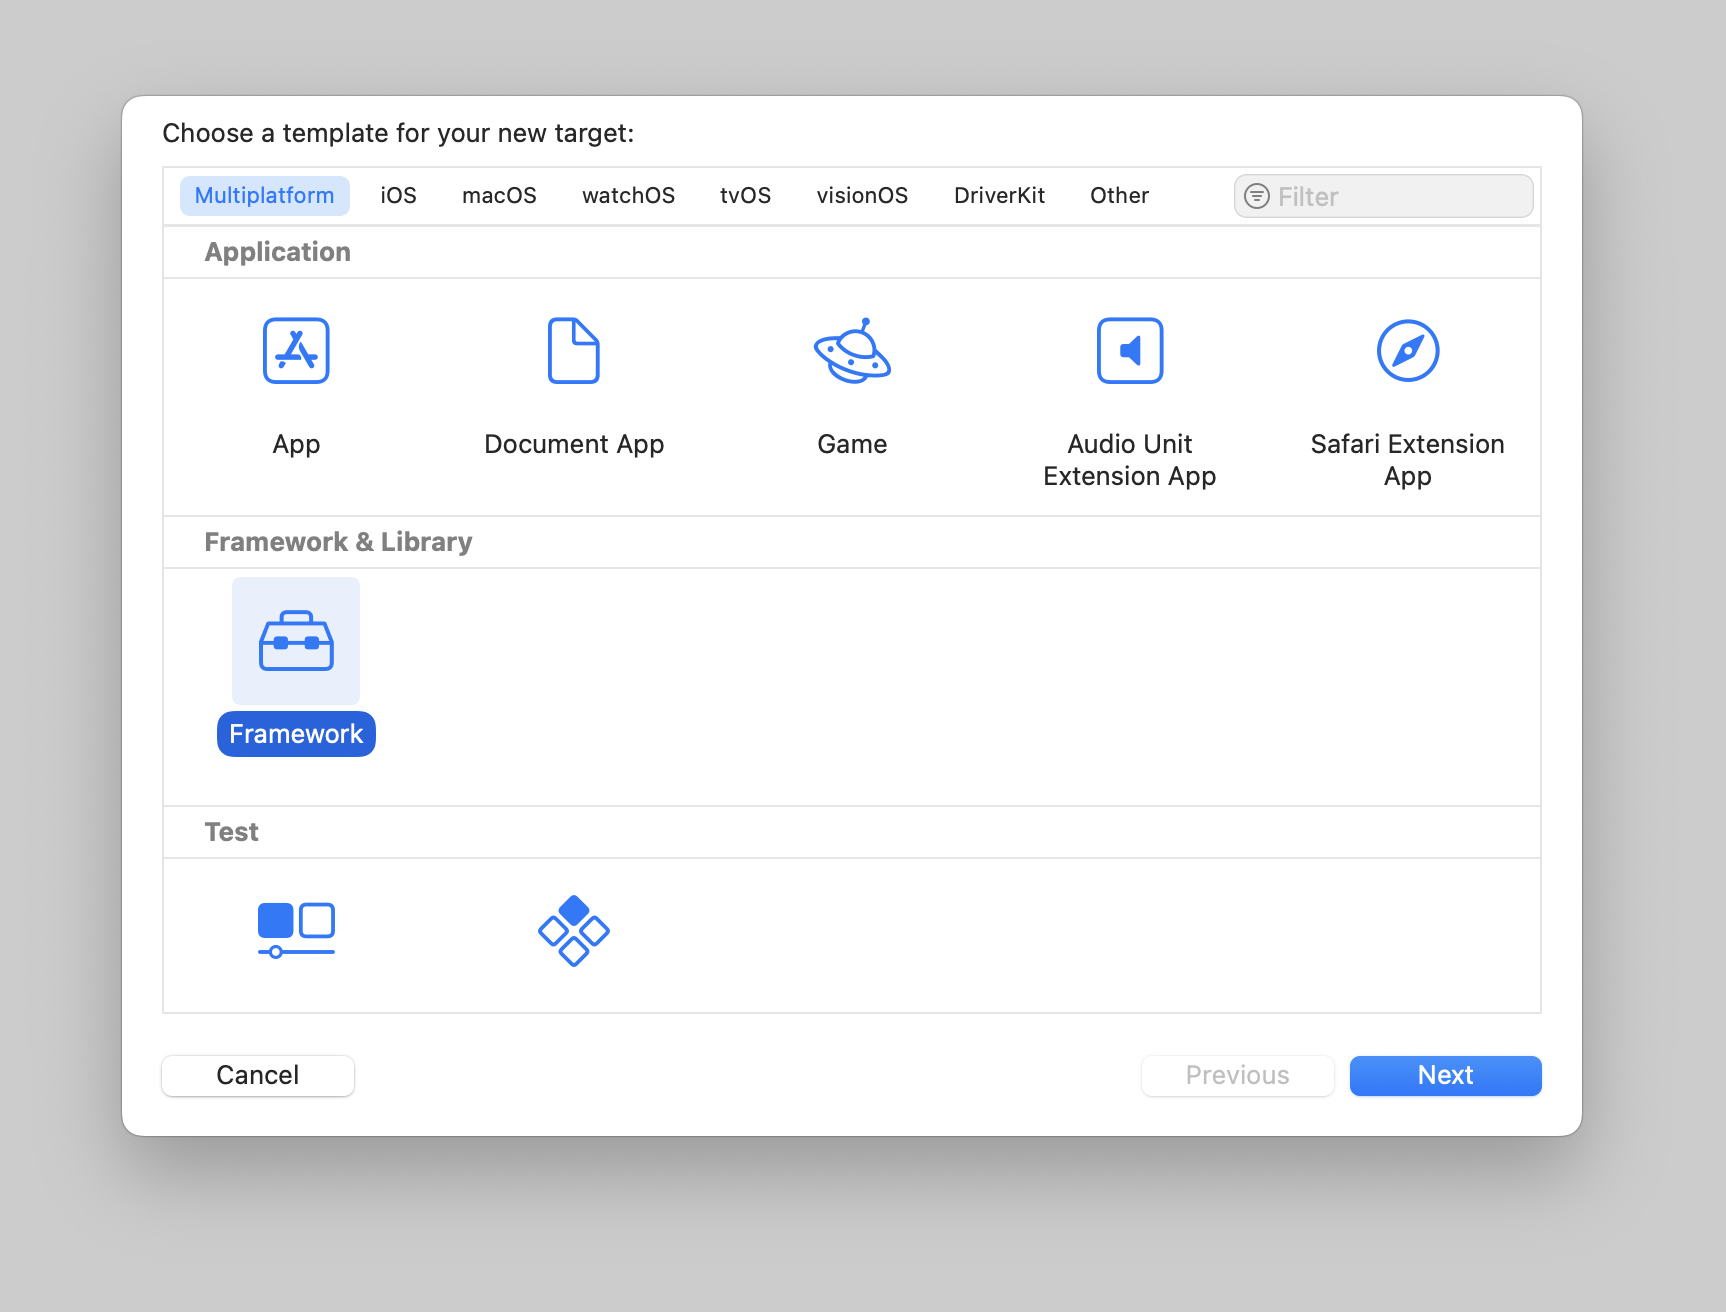
- Give your framework a unique name (e.g.,
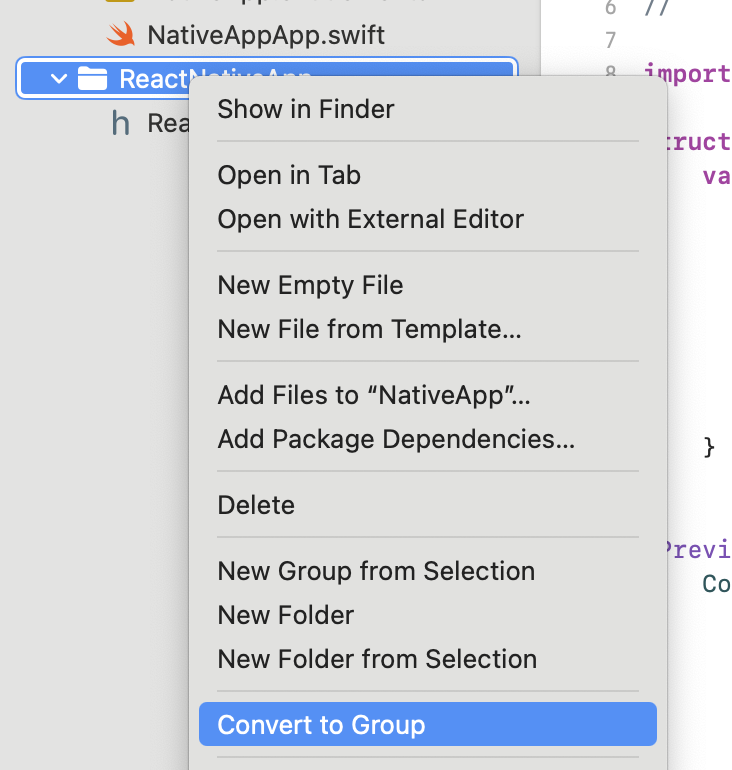
ReactNativeFramework) - Right-click the framework folder and select Convert to Group (CocoaPods doesn't work properly with references). Do this for both
<FrameworkName>and<FrameworkName>Testsfolders.
Required Build Settings
Set these build settings for your framework target:
2. Update CocoaPods
Add your new framework to ios/Podfile:
Static Linking Requirement
React Native Brownfield requires static linking to work correctly with XCFrameworks.
When using the package:ios CLI command, static linking is configured automatically. You don't need to do anything extra.
If you're running pod install directly (e.g., during development), add this to your Podfile:
This ensures pods are linked statically by default, which is required for embedding React Native in an XCFramework.
Run pod install after updating.
3. Add the Bundle Script
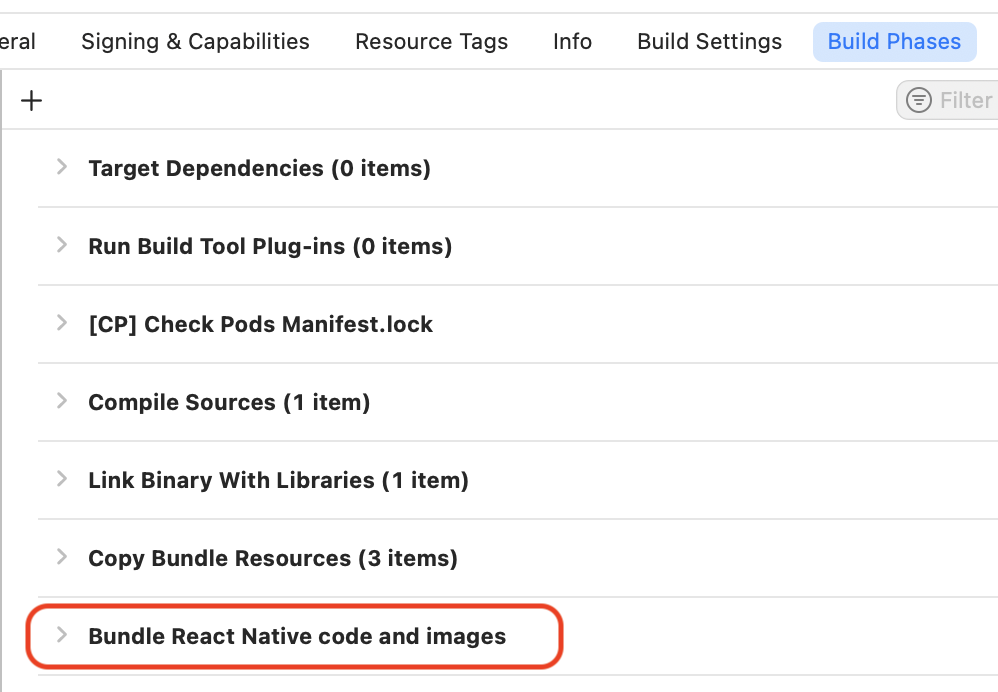
- In Xcode, click on your React Native app target
- Go to Build Phases
- Find the
Bundle React Native code and imagesstep and copy the script
- Click on your framework target
- Go to Build Phases
- Click + and choose New Run Script Phase
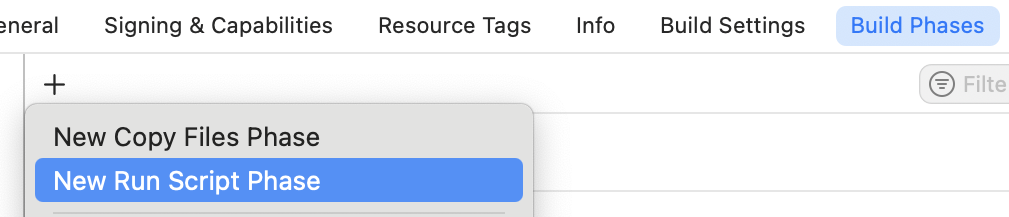
- Paste the script you copied
- Name the phase
Bundle React Native code and images - Add these input files:
$(SRCROOT)/.xcode.env.local$(SRCROOT)/.xcode.env
4. Create the Framework's Public Interface
Create a new Swift file in your framework folder:
5. Create the XCFramework
Use the brownfield CLI to package your React Native app:
This creates the XCFramework in ios/.brownfield/package/build/ (relative to your project root).
6. Add the Framework to Your iOS App
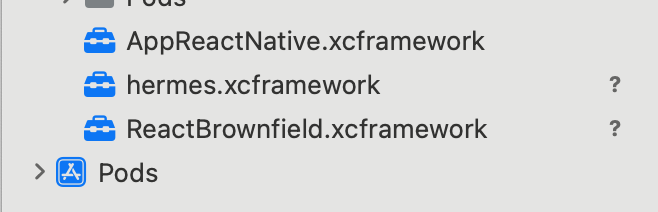
- Open
ios/.brownfield/package/builddirectory (relative to your React Native project root) - Drag these files into your native iOS app's Xcode project:
<framework_target_name>.xcframework- Your React Native frameworkhermesvm.xcframework- JavaScript runtime (orhermes.xcframeworkfor RN < 0.82.0)ReactBrownfield.xcframework- React Native Brownfield libraryBrownie.xcframework- Brownie shared state library (only when using the Brownie package)BrownfieldNavigation.xcframework- Brownfield navigation integration (only when using the brownfield-navigation package) for React Native navigation
7. Initialize React Native
In your native iOS app's AppDelegate.swift:
8. Run Your App
Debug Configuration
When running in Debug, React Native Brownfield expects a JS dev server running:
Release Configuration
In Release, the JS bundle is loaded directly from the XCFramework - no dev server needed.
SwiftUI Integration
For SwiftUI apps, use ReactNativeView: